
This is a long overdue post about one of the funnest classes I've taken in a long time. And yes, it was a class that involved marbling but it was more than that too. It was also about history and science and beginnings and discovering a whole new set of tools with which to create.
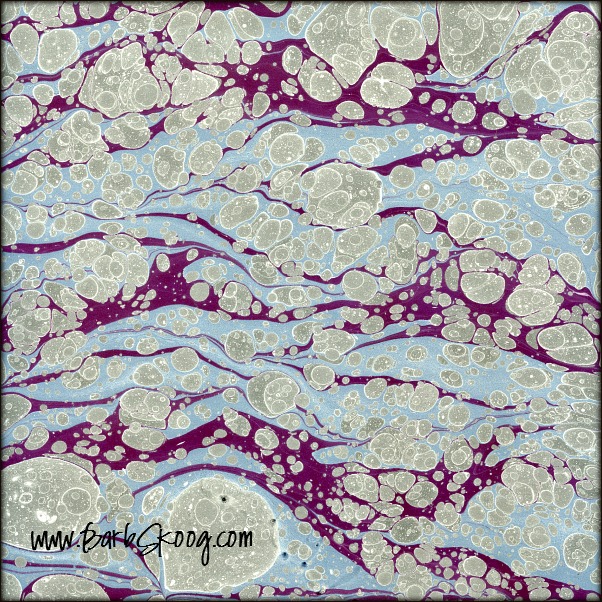
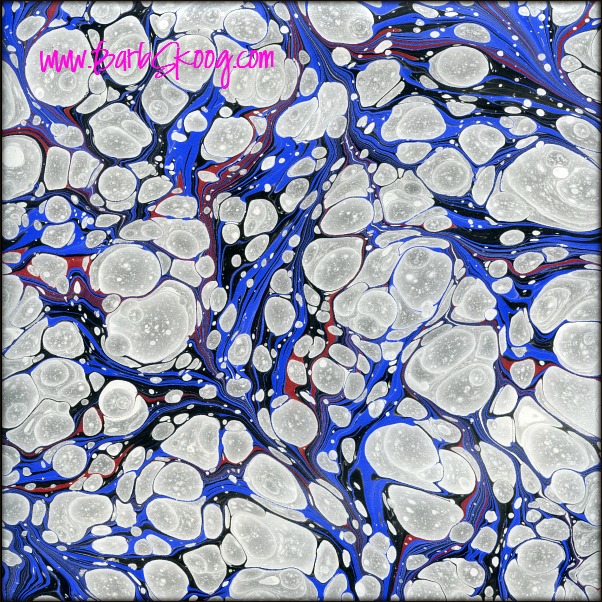
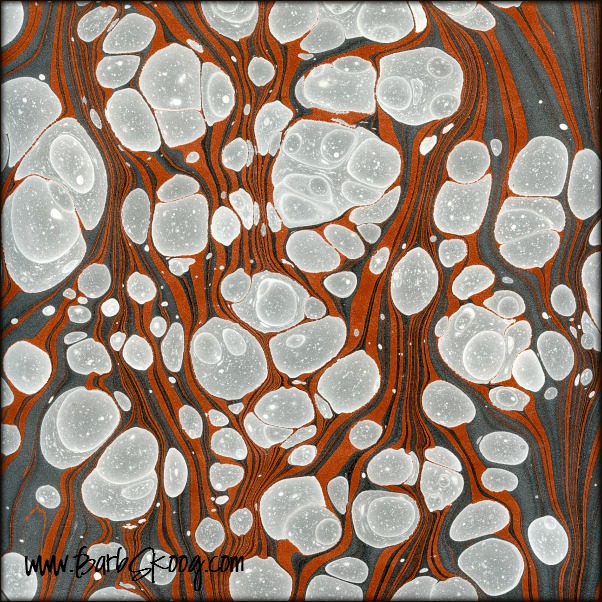
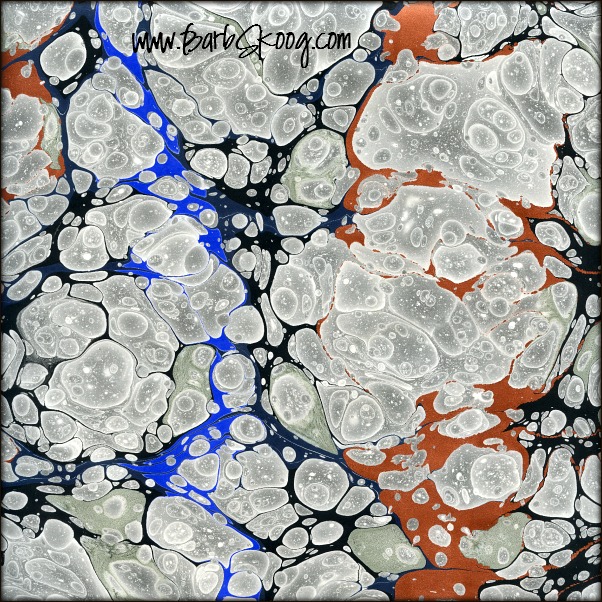
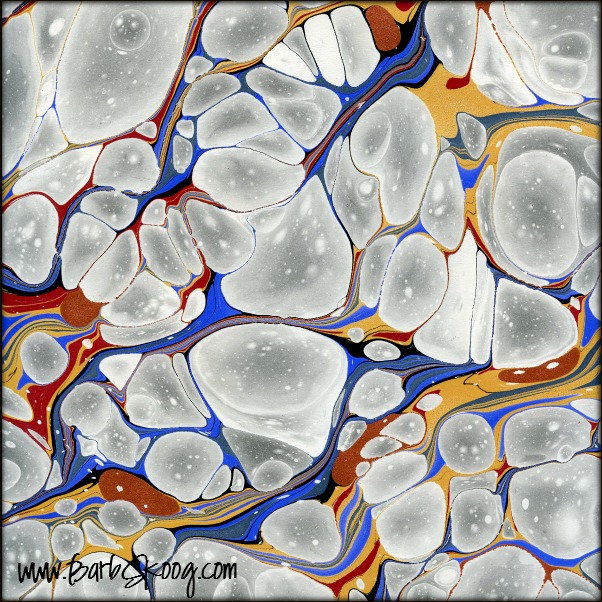
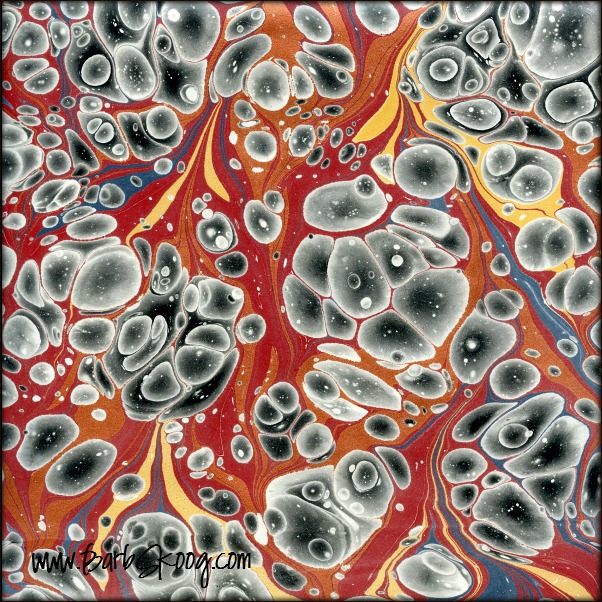
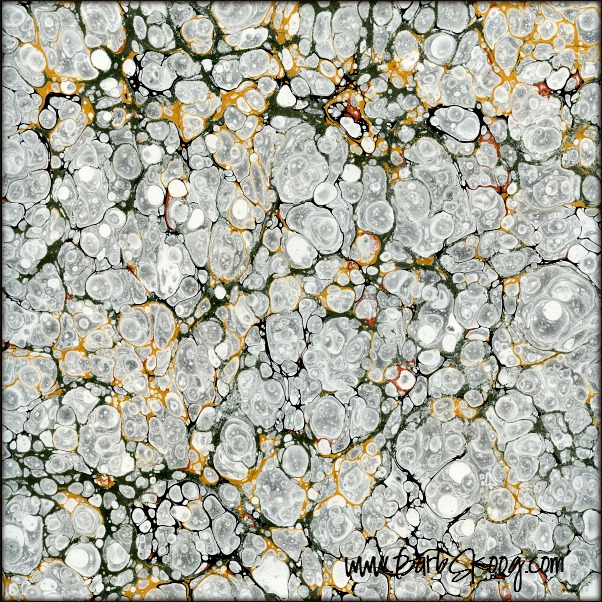
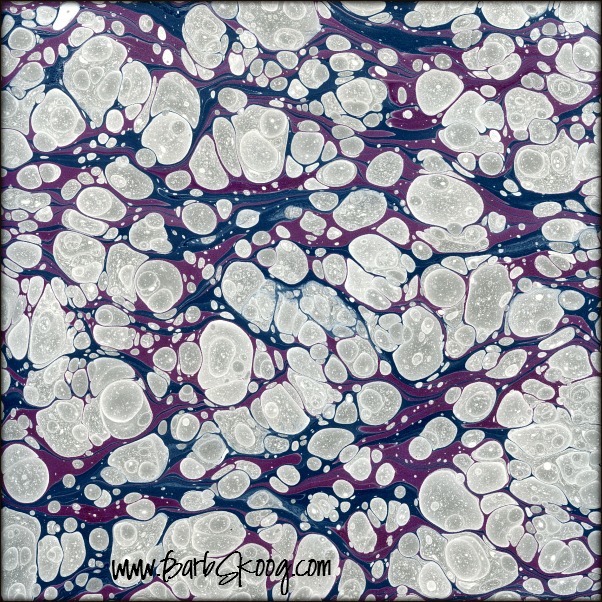
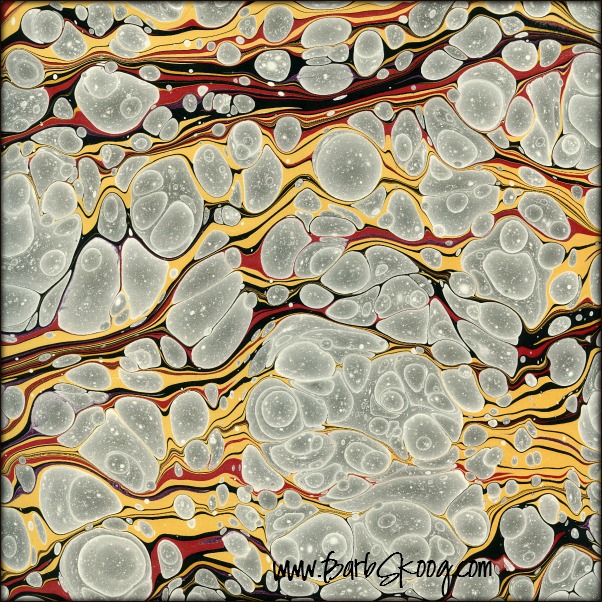
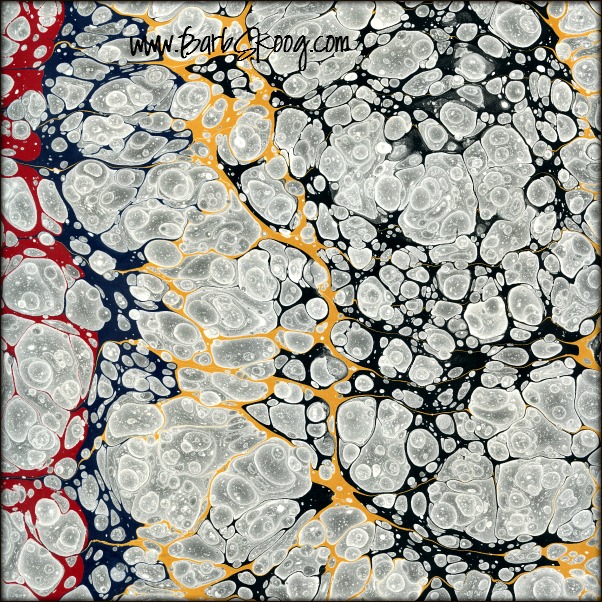
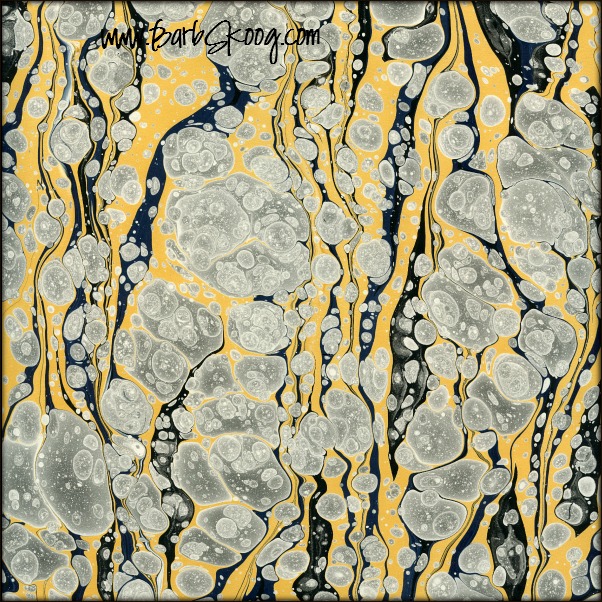
A few weeks ago I had the distinct honor and pleasure of taking a two-day class with Dan and Regina St. John ~ two very talented, long-time marblers who are incredibly generous with their marbling knowledge (and ridiculously fun to boot!). The class was called, "Historical Marbled Paper Patterns and Pigment Grinding" and as the name implies, we learned how to make our own marbling paints (from grinding pigments to making our own binder!) and how to use them (along with additives) to create historical patterns such as Shell, Stormont, and Tiger's Eye.

The class was so insightful on many levels ~ not only did I learn new techniques and peel back another layer of the art form, but being around Dan and Regina and seeing how they work as marblers was incredible. It's one thing to see the results of a marbler's work...it's another to see them in-the-moment, actually creating that work. Some things must be observed to be learned.
I just finished placing a very large order for new tools and materials and the goodies should be here by the end of the week: pigments, burnisher, glass muller and mulling surface, potash, olive oil soap, a new scale, and much, much more. (I think I'm gonna need a larger studio!)
I am so excited to start making my own marbling paints ~ though it will be for special projects only! There is just as much a time commitment to making one's own paints as there is to setting up the marbling studio (lots and lots of prep involved)...it is not for the faint of heart. But once you see the color difference between the homemade paints and the commercially made ones, you'll know the time investment you made was well, well, well worth the effort.